Mazda CX-60 Dedicated Speaker Plan
A dedicated speaker plan to enjoy music more naturally with the CX-60, leveraging the appeal of BOSE.
【Mazda CX-60 Dedicated Kicker Speaker Replacement Plan | Naturally Improving the Muffled Feel of the OEM Audio】
For the Mazda CX-60’s factory (OEM) audio, if you feel that,
- the sound seems a little muffled
- the vocals don’t come forward
- you want to enjoy your music in a more satisfying way
- you want to improve only the sound without changing the look inside the cabin
this is a CX-60 dedicated speaker replacement plan using Kicker speakers for you.
Rather than rearranging the system on a large scale, the plan starts by replacing the OEM speakers to make the music you listen to every day easier to hear and better balanced.
Keep the OEM look, and refine the sound’s clarity
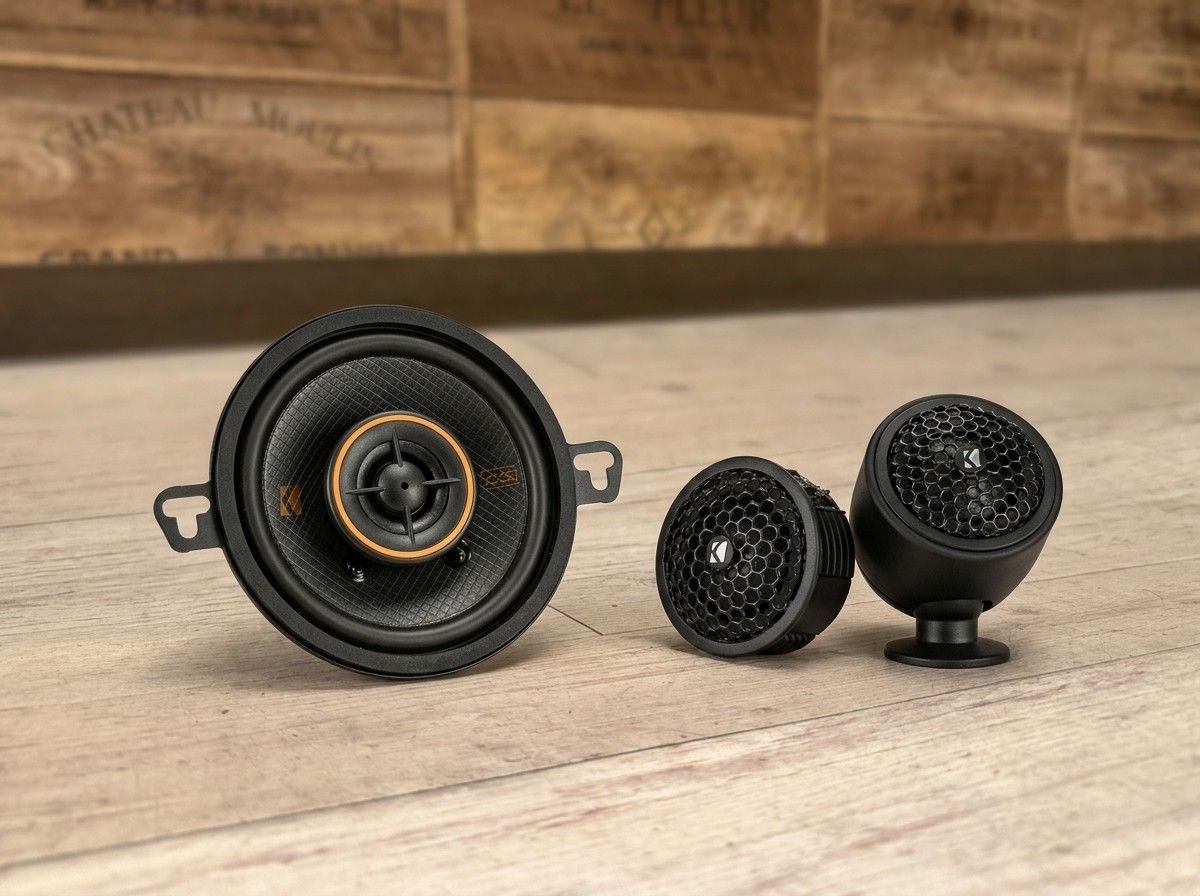
In this plan, the following speakers are used in combination with a CX-60 dedicated mounting kit.
- Front door tweeters
- Front door 2-way speakers
- Center speaker
Because the installation leverages the OEM mounting positions, it’s a configuration that makes speaker replacement easier without drastically changing the cabin atmosphere.
After the replacement, you can expect changes such as—more than simply getting louder:
- the contours of the vocals become easier to distinguish
- instrument sounds overlap less and come across in a more organized way
- high frequencies don’t stand out on their own, making the overall “airiness” easier to achieve
- navigation voice prompts and conversations feel easier to make out
The more you listen to music in the car day to day—commuting or long-distance driving—the more likely you are to feel, “it sounds more natural than before.”
Speakers and mounting kit used
- Door tweeter: KST2004
- Door speaker: KSC3504
- Center speaker: KSC3504
- CX-60 dedicated mounting kit
This setup uses a dedicated mount and coupler. However, to match the vehicle-side connectors, when connecting the speaker body and the cable, you assemble the included connector parts.
Also, tools are required to remove and reinstall the interior. If you’re not used to working on cars, it’s safer not to force the process.
The center speaker portion requires modification
The front left and right door speakers are designed to be relatively easy to install by using the dedicated kit.
On the other hand, for the center speaker, you need to slightly grind away part of the OEM mount in order to fix the Kicker mount.
The modified portion is not a location that will be visible after installation, and it can be returned to the OEM state.
That said, it may seem simple just from the explanation. In reality, your sense of confidence in the finished result will vary depending on factors such as how the mount is fixed, how the speaker sits, and how the wiring is handled.
Even with a vehicle-specific kit, it’s not “install and done.” It’s important to finish the job while checking things like how the interior fits after you put it back together, and even how the speakers connect to each other.
For those who feel uneasy about installing it themselves
This kit is configured to suit the CX-60, but there are parts that are easy to get confused about if you’re not experienced—such as modifying around the center speaker and assembling the connector parts.
There is no instruction manual, so if you’re unsure about the work, please don’t force it—bring it to our shop or consult a nearby car audio specialist.
Removing/reinstalling interior parts and doing modifications can also lead to scratches or damage depending on how much force you apply. Since the CX-60 is important, it’s safer to proceed with confirmation at a specialist shop if you have even a little concern about the installation.
Please note that we do not accept returns for reasons other than product defects. Thank you for your understanding in advance.
What it means to have it installed by LOGON
Replacing speakers is not something that results in the same sound just by mounting the parts.
The impression of the finished sound changes depending on installation conditions for each vehicle, how it connects with the OEM system, the speaker mounting condition, the left-right balance, and more.
At LOGON, we propose solutions in a reasonable way while confirming how you use the CX-60, the music you normally listen to, and your preferences regarding sound.
If your goal is, “I want it to be easier to listen to than stock first,” then—if I were advising you—I’d say it’s also a good idea to start by building a foundation with a speaker replacement instead of jumping straight into a large-scale system. Then, if needed, we can consider the next steps together, such as an amp or DSP.
Recommended for people like this
- You feel the CX-60’s OEM audio is lacking
- You want vocals and navigation voice prompts to be easier to hear
- You want to improve the sound without dramatically changing the look inside the cabin
- You want to replace speakers while leveraging the OEM mounting positions
- You want to consult a specialist shop, including installation and modifications
- You’re also considering future system upgrades
Keep the OEM usability, and make your everyday music a little more enjoyable
Mazda CX-60 Dedicated Kicker Speaker Replacement Plan is for those who want to arrange the sound in the cabin to be more natural and easier to listen to—without significantly changing the OEM look or usability.
Using the dedicated kit makes installation easier to proceed, but the actual finish will vary depending on the installation method, including the modified areas, fixing, and wiring treatment.
If you feel a slight sense of “something missing” in the CX-60’s sound, let’s first check your current system and how you listen, and think together about how far you should go. We’ll guide you to a way of enjoying the music you normally listen to—more naturally than before.
| Woofer Opening Size | 80.9mm |
| Woofer Depth Size | 60mm |
| TW Dashboard Attachment | ◎ |
| TW Upper Dashboard Exchange | ◎ |
| TW Door Mirror Exchange | ◎ |
| TW Pillar Exchange | ◎ |
| TW No Processing Mount Attachment | ◎ |
| [Notes] | As specialized knowledge is required, we recommend installation at a specialty store. If you install it yourself, please be careful and at your own risk. |
Related Links
| Compatible vehicle model name | Model year | remarks |
|---|---|---|
| MAZDA CX60KH系 | 2022-09 ~ current | |
| MAZDA MAZDA6 SEDANGJ系 | 2019-08 ~ 2024-09 | |
| MAZDA MAZDA6 WAGONGJ系 | 2019-08 ~ 2024-09 |